Lucky for me, I have an amazing husband who is also extremely thoughtful and creative. He had a vision for the save the date before I did. As a Bob Dylan aficionado, he wanted to play around with an existing Dylan album cover, Oh Mercy!
We used photo shop to take out Bob Dylan from the top, and put in our names. We chose a color for the back (red) and added all the important information needed. We printed it, added hand drawn lines into our names to make it look more like the original album, collaged magazine letters and numbers in for the date and words (save the date and are you ready?).. and finally, scanned it back in for printing.
Then, in a wonderful gesture of kindness, his oldest childhood friend (who works for a printing company) printed them for us on beautiful thick, glossy paper..for free! Amazing. Still to this day, I love that Save the Date! We worked together to make something original, fun and totally us! We even sent them out with Simpsons stamps! In case you didn't guess, we both absolutely love the Simpsons...woo-hoo!
 |
| One of the carving ideas. |
I found a great site called CutCardStock. They have a variety of fun colors in card stock and envelopes. We ordered a number of samples for $1 to feel out the colors and sizes. We chose a chartreuse paper for the card itself, emerald blue for the envelope, and deep purple for the ink.
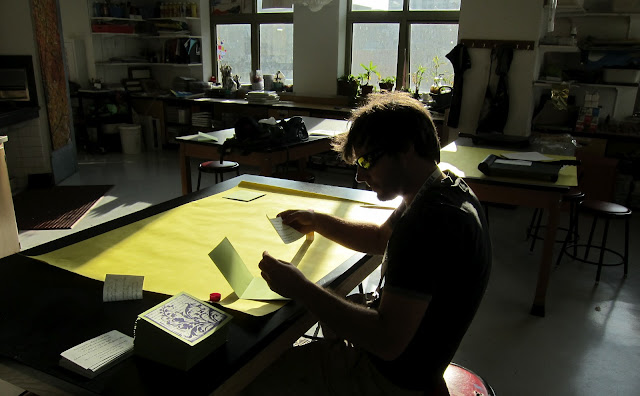
Then we got to the making! It was so so special because we did the entire thing together! I printed the block onto nice paper that had words my wonderfully poetic husband wrote, "between our lips rest forever." This line was repeated in different fonts as a way to add an element of texture to the background. It also connected his words and my art together. He glued the information inside the card, and later when all was dry we stuffed and labeled the beautiful blue envelopes.
 |
| The printing station set up. |
 |
| My hottie gluing the information inside. |
 |
| A stack of completed invitations! |
 |
| Ruby watching while we stuffed and labeled! |


As far as the labels, I just used standard sized white mailing labels, downloaded a funky font for the save the date and a pretty one for the invitation, both free. Then I cut some of the the labels after they were printed to give them a custom feel. I think the white labels added an element of design to the front, and allowed for easy viewing!
We did not have an RSVP card inside, instead we asked for our guests to RSVP via email or phone. This saved money and paper!


Wow, what an informative and CREATIVE post! You tell such a happy story through stunning pictures and personable text. Are you going to post more about your wedding process? I can't wait!
ReplyDelete